Population groups
Use population groups to organize your clients into groups. The groups are simply folders, so you can use groups in any way that makes sense with your
Last updated: May 7, 2026
Use population groups to organize your clients into groups. The groups are simply folders, so you can use groups in any way that makes sense with your care practice.
Create a new population group
Go to "Population (all)"
Select "Population (all)" in the left main menu
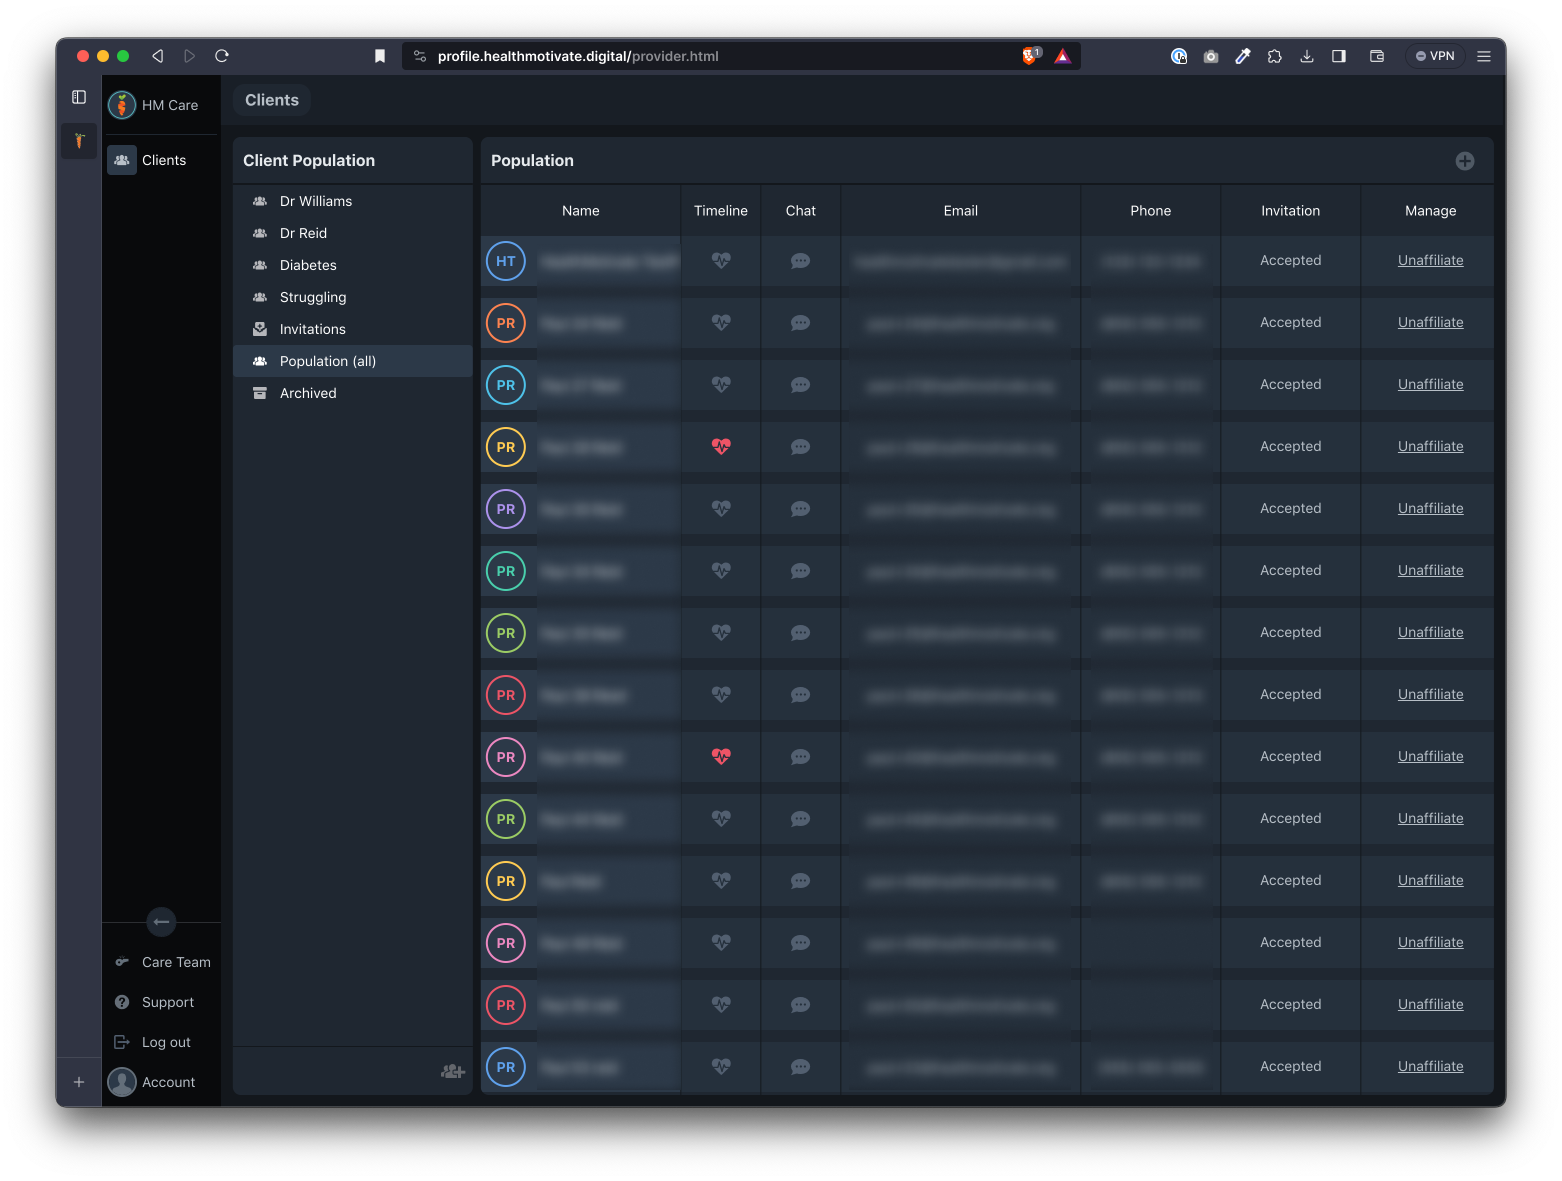
Click the new group button
Click the new group button (a people/plus icon) at the bottom of the groups panel, to the left of the population list.
A group will be added with a default name.
Rename a group
If you wish to rename a group, double-click on the group name.
Highlight the text and rename the group.
When you are done editing, press return (mac) or enter (windows).
Delete a group
To delete a group, select the group name in the groups panel.
Click the delete group button (a trashcan icon)
When prompted to confirm the group deletion, click "Remove."
The group will be deleted. Clients that were in the group can still be found in the "Population (all)" list.
- Invitations
- Population (all)
- Archived
Assign a client to a group
To assign a client to a group, find the client in the Population (all) list.
Drag the client name to the group to which you wish to assign them.
When you select that group, the client should now be inside the group.
Remove a client from a group
To remove a client from a group, select the group in which the client is located.
Find the client, and select "Remove from group" in the "Manage" column.
When prompted to confirm the removal, select "Remove."
The client will be removed from the group, but they will still be listed in the "Population (all)" group.
Was this article helpful?